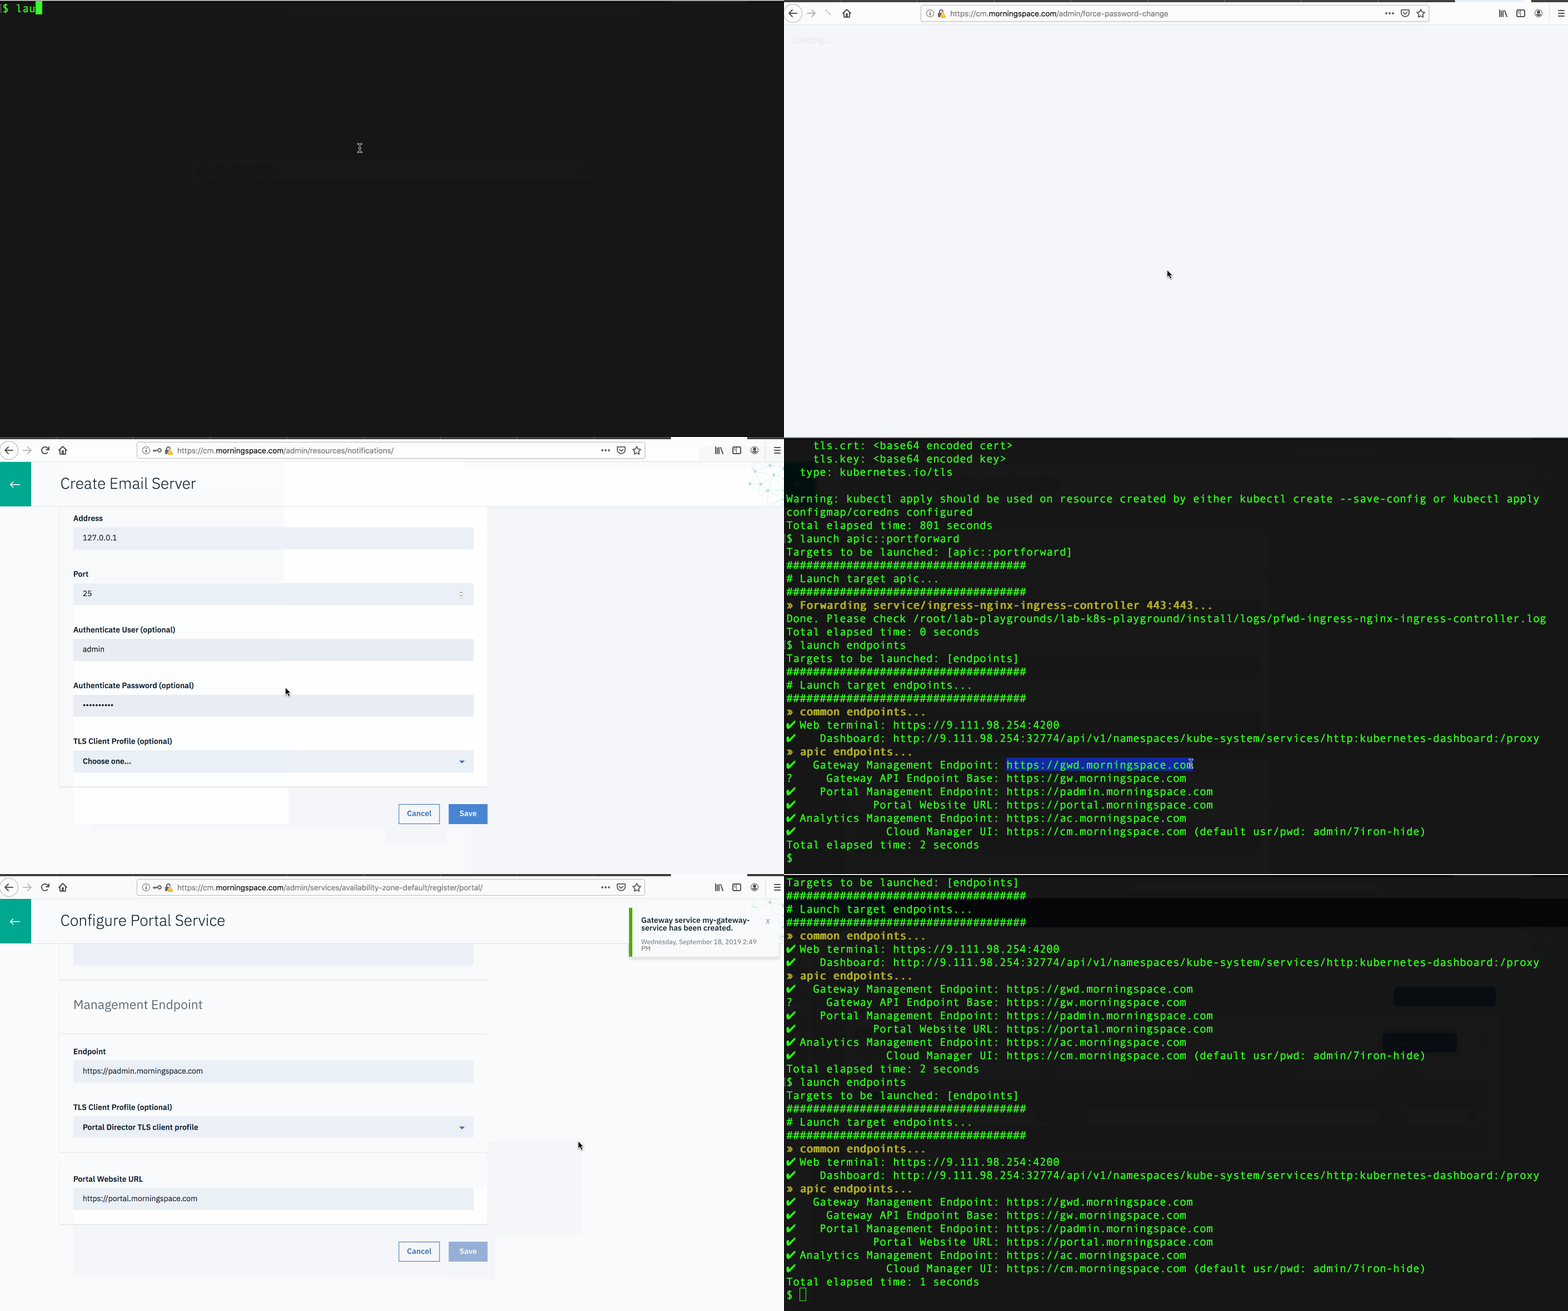
lab-k8s-playground
Quick Guide to Launch APIC Playground
This guide also has a Chinese version: 把API Connect关进All-in-One K8S Playground里.
API Connect
IBM API Connect(APIC) is an integrated API management offering, with capabilities and tooling for all phases of the API lifecycle. It is built on top of the great open source project LoopBack as a platform for building APIs and microservices in Node.js.
The standard APIC installation is a bit complicated. Depends on its system resource requirements, e.g. CPU, memory, disk volume, it usually requires multiple virtual or bare metal machines and takes hours or even days to finish the deployment. For more details, please refer to its Documentation.
As an advanced usage case of the open source project lab-k8s-playground, this guide will work you through the steps to launch APIC on top of Kubernetes or OpenShift using the All-in-One Kubernetes Playground on a single machine in minutes with only 4 or 5 steps in a repeatable manner!

Step 1. Initialize the playground
Clone the playground repository, go into the repository root directory, run command to init the environment:
$ git clone https://github.com/morningspace/lab-k8s-playground.git
$ cd lab-k8s-playground
$ ./install/launch.sh init
After finished, specify host IP, k8s provider, k8s version, number of worker nodes in ~/.bashrc:
# The IP of your host that runs APIC
export HOST_IP=<your_host_ip>
# The Kubernetes provider, default is dind
export K8S_PROVIDER=
# The Kubernetes version, default is v1.14
export K8S_VERSION=
# The number of worker nodes, must be 3
export NUM_NODES=3
You can choose different Kubernetes distributions to install APIC by specifiying
K8S_PROVIDER, valid values include:dindfor standard Kubernetes,ocfor OpenShift. If you choose OpenShift,K8S_VERSIONandNUM_NODESwill be ignored.
Reload .bashrc to apply your changes, enable bash completion and other features in current login session:
$ . ~/.bashrc
The Playground with APIC can be launched on either Ubuntu, CentOS, or RHEL.
Step 2. Prepare APIC installation packages
Download APIC installation packages into $LAB_HOME/install/.launch-cache/apic including all Docker images and the apicup executable required when install APIC, e.g.:
$ ls -1 $LAB_HOME/install/.launch-cache/apic/
analytics-images-kubernetes_lts_v2018.4.1.4.tgz
apicup-linux_lts_v2018.4.1.4
idg_dk2018414.lts.nonprod.tar.gz
management-images-kubernetes_lts_v2018.4.1.4.tgz
portal-images-kubernetes_lts_v2018.4.1.4.tgz
Here,
$LAB_HOMErefers to the repository root directory.
You can find the APIC installation packages from the official IBM download site. That will not be covered in this guide.
Step 3. Change and review APIC settings
You can specify APIC hostnames and other settings in below file as needed:
$ vi $LAB_HOME/install/targets/apic/settings.sh
If you choose OpenShift, the hostnames are fixed. Please run
launch endpointsto view how the hostnames look like after APIC is launched.
You can set apic_skip_load_images to 1 in settings.sh after the first launch to skip the step of loading APIC images into local private registry because you don’t have to repeat that if the registry has already been provisioned. To skip this can make the launch faster.
If you are interested in APIC settings customization, please refer to Appendix: Customize APIC settings.
Step 4. Launch APIC
Run command to launch Kubernetes:
$ launch default
After finished, you can run
kubectl versionto verify if everything works fine.
Run
export IS_IN_CHINA=1beforelaunchif you are located in China who cannot pull images from Google site that are required by the cluster.
Then, launch APIC:
$ launch apic
It takes time to finish the launch which depends on your system configuration, e.g., on my virtual machine, when apic_skip_load_images is set to 1, it usually takes less than 15 minutes to finish all the work before I can use.
After finished, you can run
kubectl get pods -n apiconnectto verify if all APIC pods are deployed correctly.
If you want to destroy the current cluster for whatever reason and re-launch a new one, just run below command:
$ launch apic::clean kubernetes::clean registry::up kubernetes apic
Step 5. Expose APIC endpoints
If you choose OpenShift, then you don’t need this step.
You can expose APIC endpoints outside the cluster:
$ launch apic::expose
Then add the host IP and hostname mapping into /etc/hosts on your local machine so that you can access APIC UI from web browser. e.g.:
$ cat /etc/hosts
...
<your_host_ip>   cm.morningspace.com gwd.morningspace.com gw.morningspace.com padmin.morningspace.com portal.morningspace.com ac.morningspace.com apim.morningspace.com api.morningspace.com
Appendix: Customize APIC settings
All APIC settings files can be found at $LAB_HOME/install/targets/apic. It includes settings.sh to configure APIC hostnames and required memory or volume size.
When finish the customization, you can run below command to review the changes:
$ launch apic::validate
In the output, you may notice some subsystems report validation failures, e.g.:
data-storage-size-gb 10 ✘ data-storage-size-gb must be 200 or greater
It indicates the data-storage-size-gb used by analytics subsystem must be 200 or greater. You can ignore these failures if you are sure the specified value is sufficient for you to launch APIC in your particular environment.
Have fun!